Using CodePipeline to host a static Website
There are many ways to host a website online. In this example we will be reviewing one of the simplest ways to publish and automate a statically built website (Hugo is one such example of a system which can create static websites, and is popularly used for blogs). The final website itself will just contain HTML, CSS, Images and Javascript.
During this process, we have used the listed AWS Services:
- CloudFront
- CodeBuild
- CodePipeline
- IAM
- S3
- CodeCommit
To keep this simple, the below steps are done via the console.
Setup the AWS Components
Setup S3
To begin with, you will need to setup some storage for the websites content, as well as the pipeline’s artifacts.
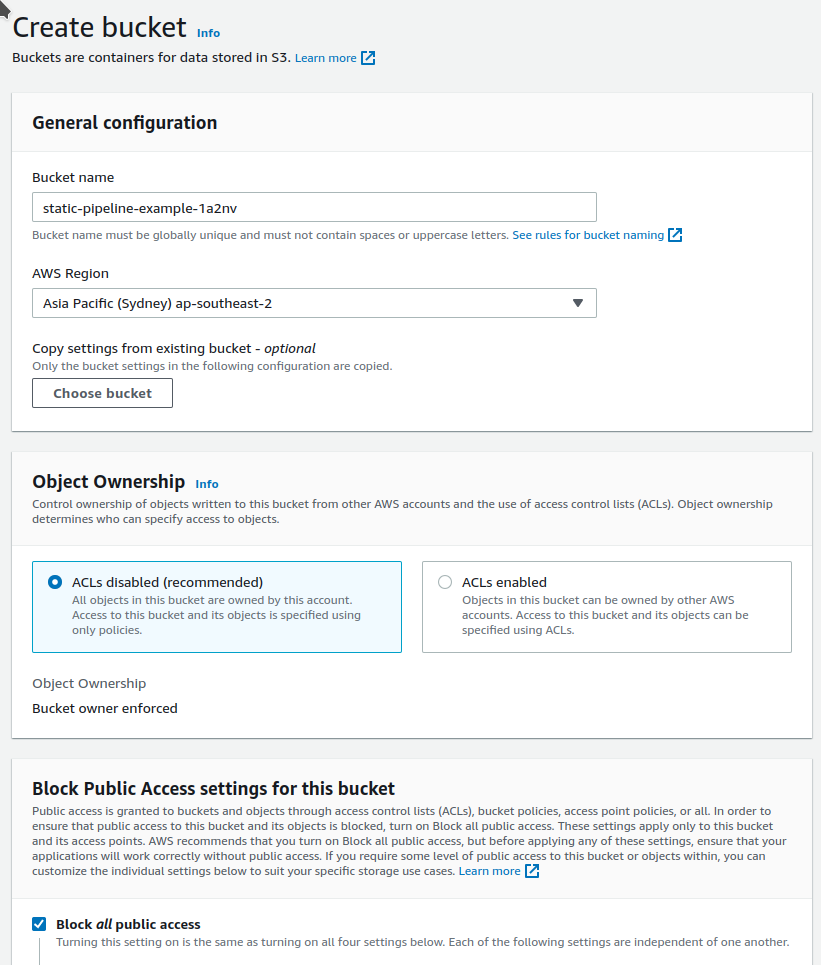
Create the bucket for your Pipeline Files. Ensure that Block all public access is checked. It's recommended you also enable Server-side encryption by default with SSE-S3.
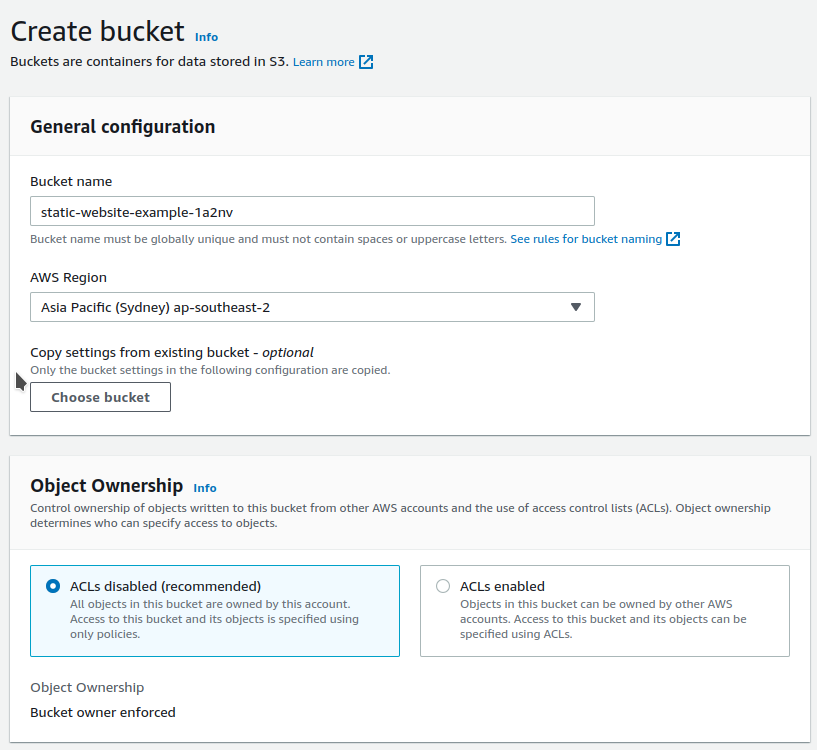
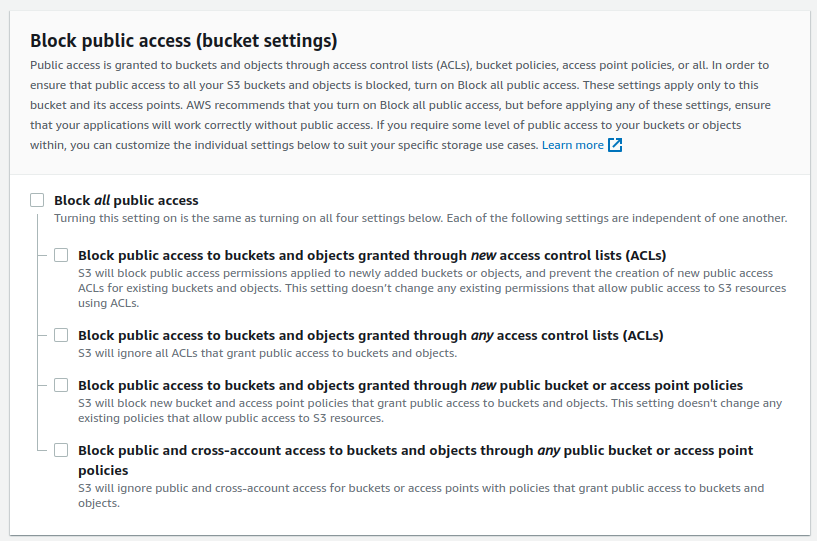
Create a bucket for your Website Files. Ensure that block all public access is NOT checked. This bucket will be open to the world as it will need to be configured to host a website.
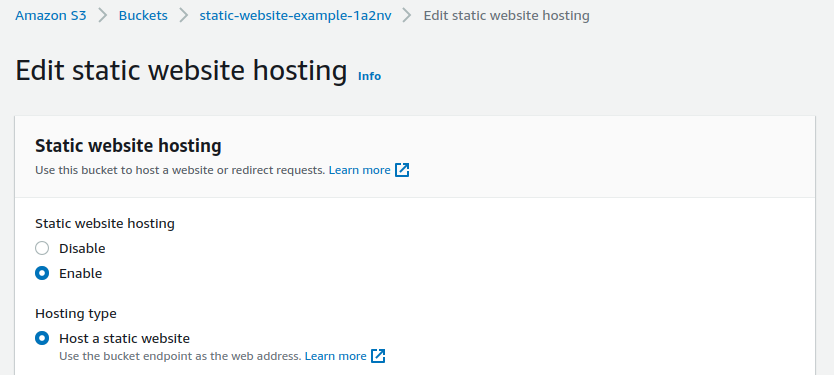
When the Website Files bucket is created. Go to Properties tab and Edit Static website hosting. Set it to Enable, and select the type as Host a static website. Save Changes. Note the URL under Bucket website endpoint.
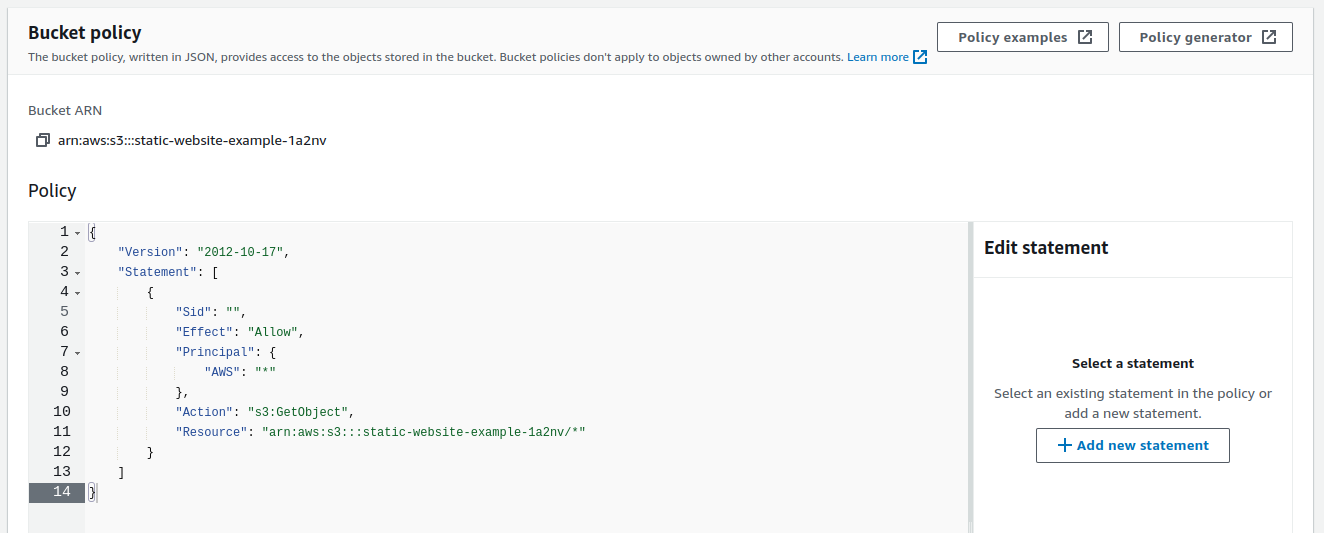
Go to Permissions tab and Edit the Bucket policy. Paste in a policy such as the below sample.
 1{
 2  "Version": "2012-10-17",
 3  "Statement": [
 4    {
 5      "Sid": "",
 6      "Effect": "Allow",
 7      "Principal": {
 8        "AWS": "*"
 9      },
10      "Action": "s3:GetObject",
11      "Resource": "arn:aws:s3:::${website-bucket-name}/*"
12    }
13  ]
14}
Setup IAM Users
You will need to first create an IAM Role which your CodePipeline and CodeBuild will be able to assume.
Some of the below permissions can be drilled down further, as they are fairly generic. In this case we are merging the CodePipeline/CodeBuild into one user for simplicity sake, although it's recommended you have them separate normally.
Create a Role in IAM with a unique name based on your project. You will need to setup the below trust policy.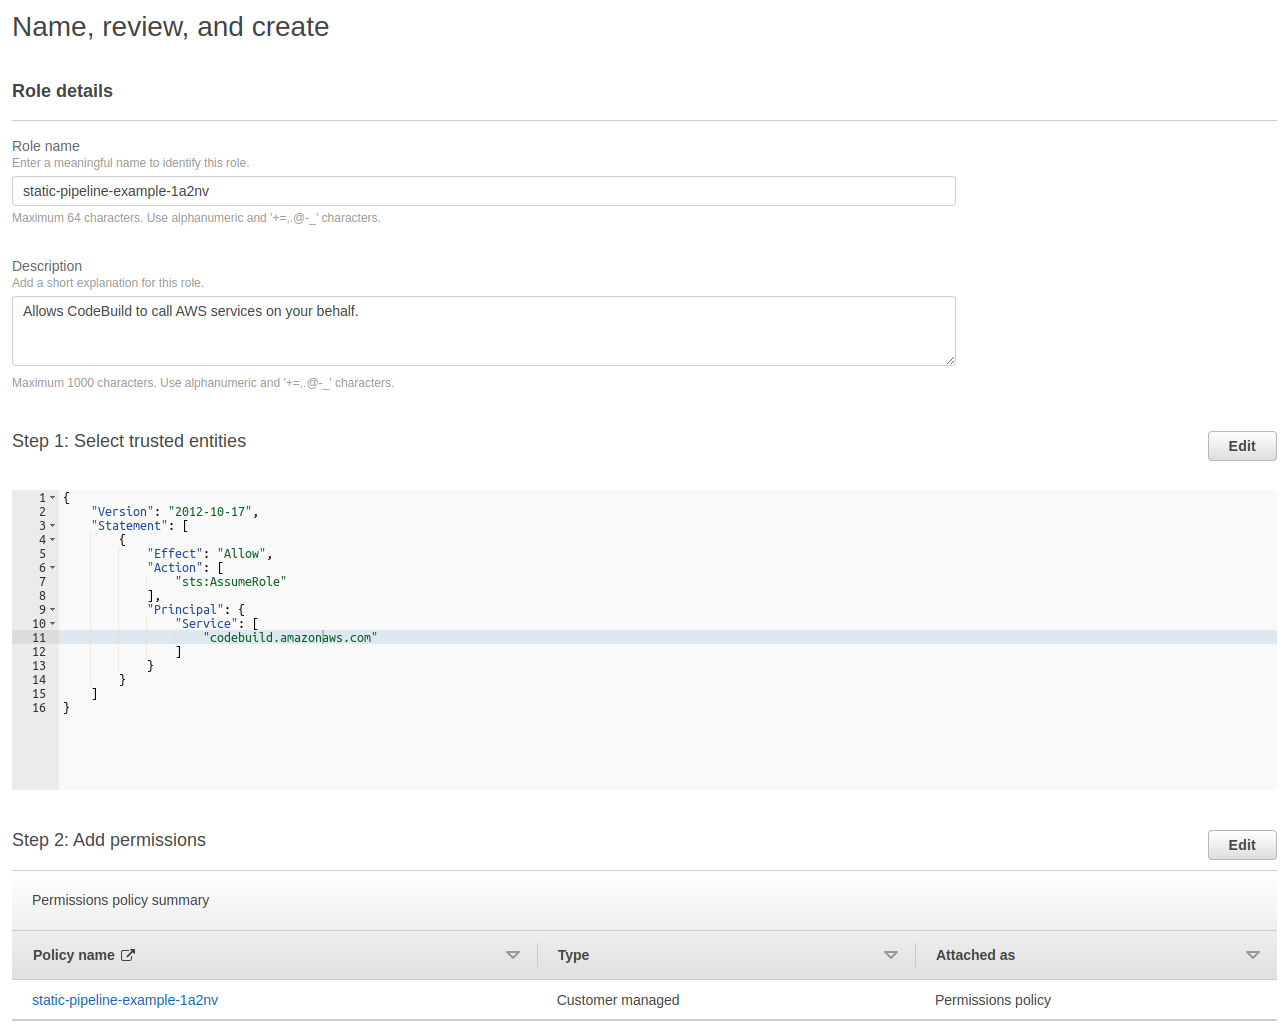
 1{
 2  "Version": "2012-10-17",
 3  "Statement": [
 4    {
 5      "Effect": "Allow",
 6      "Principal": {
 7        "Service": [
 8          "codebuild.amazonaws.com",
 9          "codepipeline.amazonaws.com"
10        ]
11      },
12      "Action": "sts:AssumeRole"
13    }
14  ]
15}
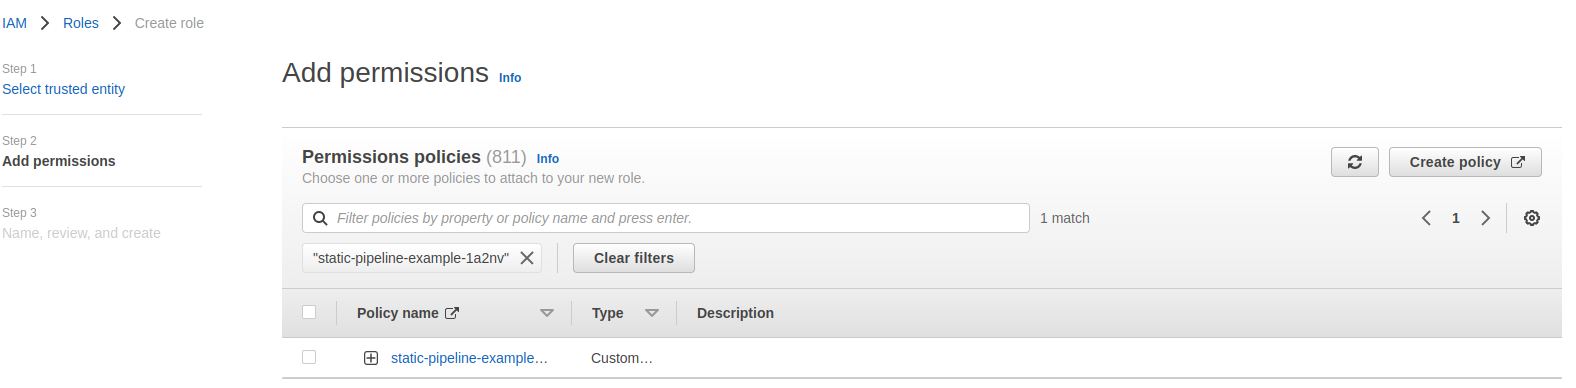
Create a new Policy. Paste in a policy such as the below sample. Attach the policy to the role you created in the step prior.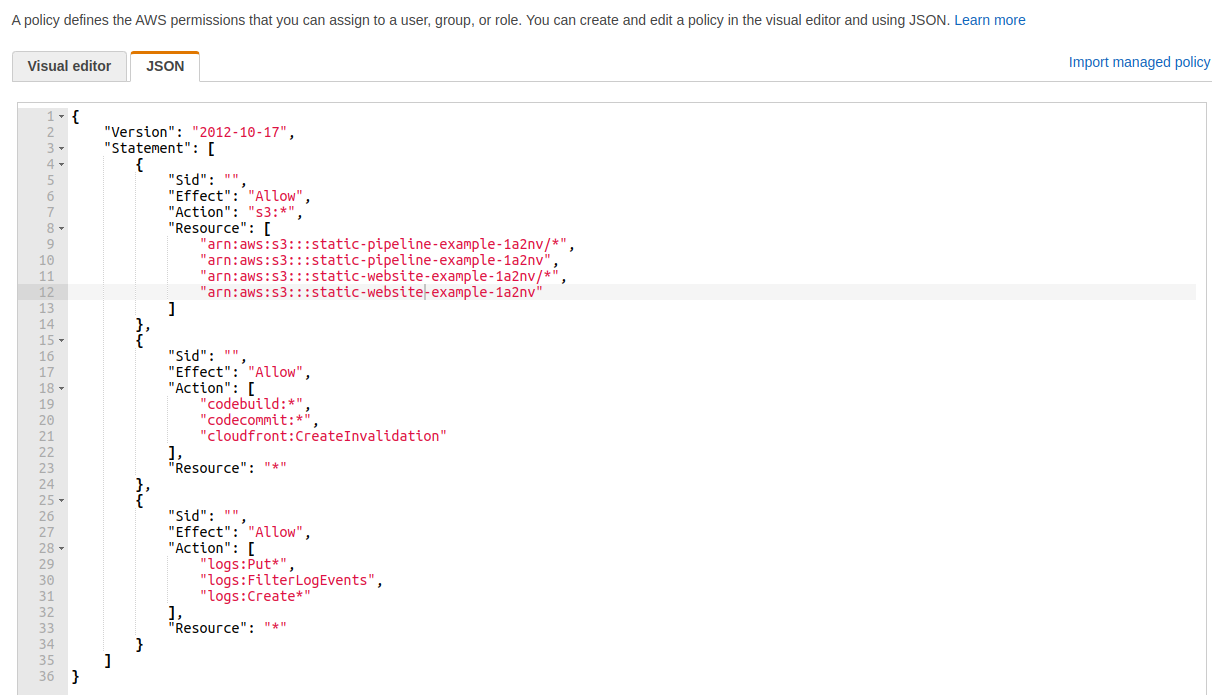
 1{
 2  "Version": "2012-10-17",
 3  "Statement": [
 4    {
 5      "Sid": "",
 6      "Effect": "Allow",
 7      "Action": "s3:*",
 8      "Resource": [
 9        "arn:aws:s3:::${pipeline-bucket-name}/*",
10        "arn:aws:s3:::${pipeline-bucket-name}",
11        "arn:aws:s3:::${website-bucket-name}/*",
12        "arn:aws:s3:::${website-bucket-name}"
13      ]
14    },
15    {
16      "Sid": "",
17      "Effect": "Allow",
18      "Action": [
19        "codebuild:*",
20        "codecommit:*",
21        "cloudfront:CreateInvalidation"
22      ],
23      "Resource": "*"
24    },
25    {
26      "Sid": "",
27      "Effect": "Allow",
28      "Action": [
29        "logs:Put*",
30        "logs:FilterLogEvents",
31        "logs:Create*"
32      ],
33      "Resource": "*"
34    }
35  ]
36}
Setup CloudFront
Access Cloudfront and select Create distribution.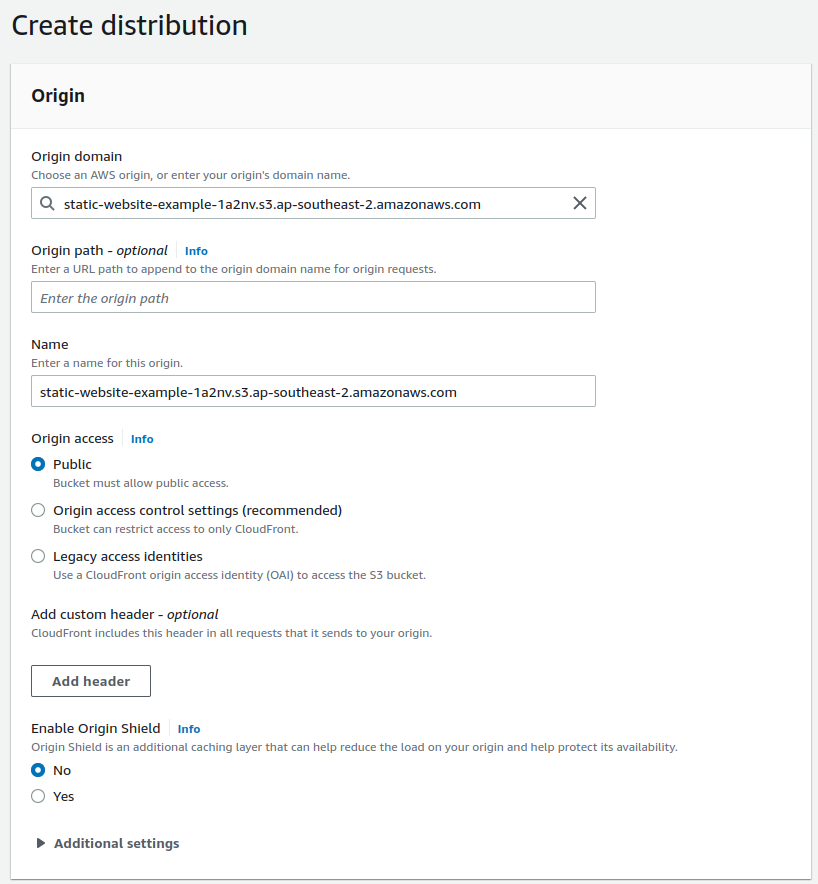
Under Origin domain - select the S3 Bucket you created earlier.
Under Viewer protocol policy, set your desired actions. If you have a proper SSL you can set
it up later and use Redirect HTTP to HTTPS. Under Allowed HTTP methods, select GET, HEAD.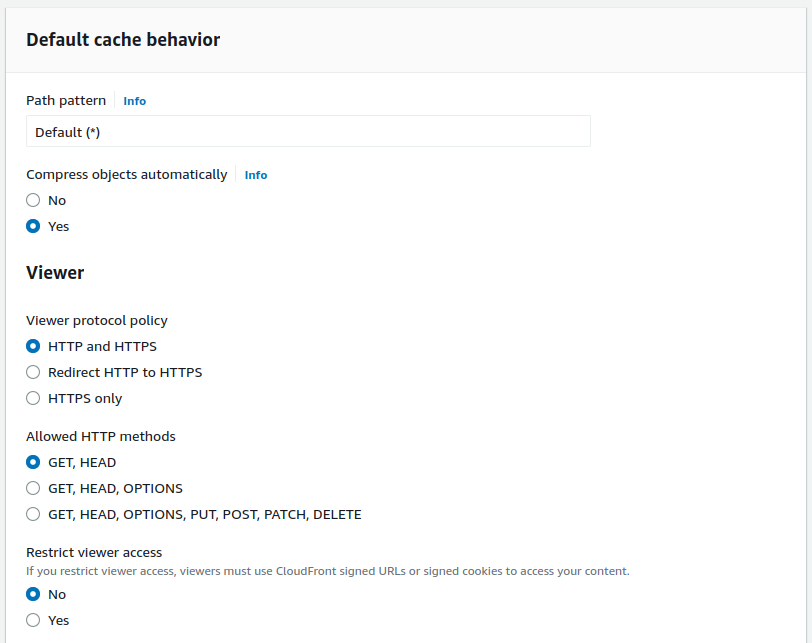
You can setup Alternate domain name here, but make sure you have an ACM Certificate to cover it, and setup Customer SSL certificate if you wish to use HTTPS.
Set the Default root object to index.html. This will ensure it loads the website if someone visits the root of the domain.

Leave everything else as default for the moment and click Create distribution.
Setup the Pipeline
Now that all the components have been created, let's setup the Pipeline to tie them all Together.
Setup CodeCommit
Navigate in to CodeCommit, and select Create Repository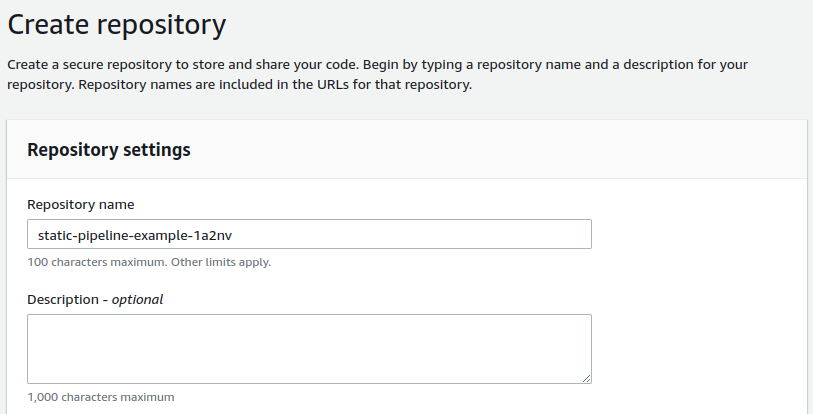
You will need to make a sample commit, so create a directory called public and a file called index.html within it with some sample content, and push it up.
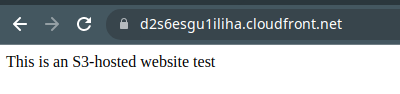
1$ cat public/index.html
2This is an S3-hosted website test
After this is done, you should have a branch called “master” or “main” depending on your local configuration. This will need to be referenced during pipeline creation.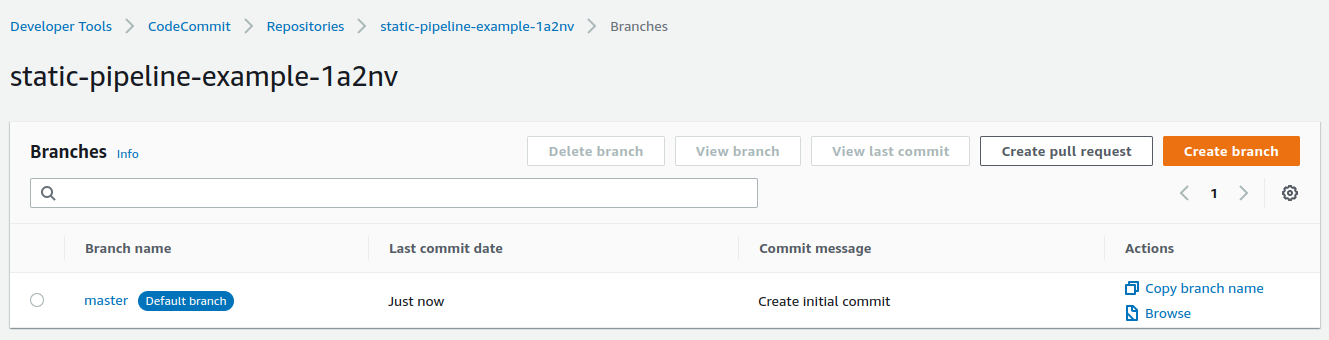
Setup buildspec in the Repository
Add a buildSpec.yml file to the CodeCommit Repo in order to automatically upload your files to AWS S3, and Invalidate the Cloudfront Cache.
1version: 0.2
2phases:
3  install:
4  commands:
5  - aws s3 sync ./public/ s3://${bucketname}/
6  - aws cloudfront create-invalidation --distribution-id ${cloudfront_id} --paths "/*"
Setup CodePipeline
In our example, we’re going to use a very simple and straightforward pipeline. It will have a Source and Deployment phase.
Navigate in to CodePipeline, and select Create Pipeline. Enter your Pipeline name, and select the role you created earlier under Service role. Under Advanced Settings, set the Artifact Store to Custom Location and update the field to reference the pipeline bucket you created earlier on.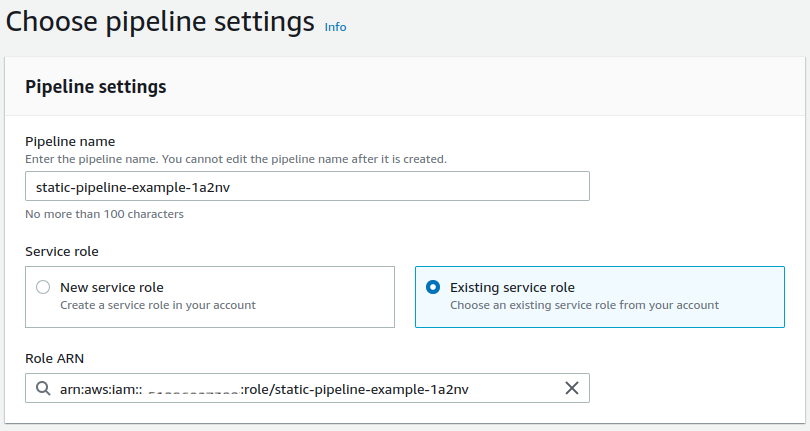
Click next, and move to Adding a Source Provider. Select the Source provider, Repository name and Branch name setup previously, and click next leaving everything else as default.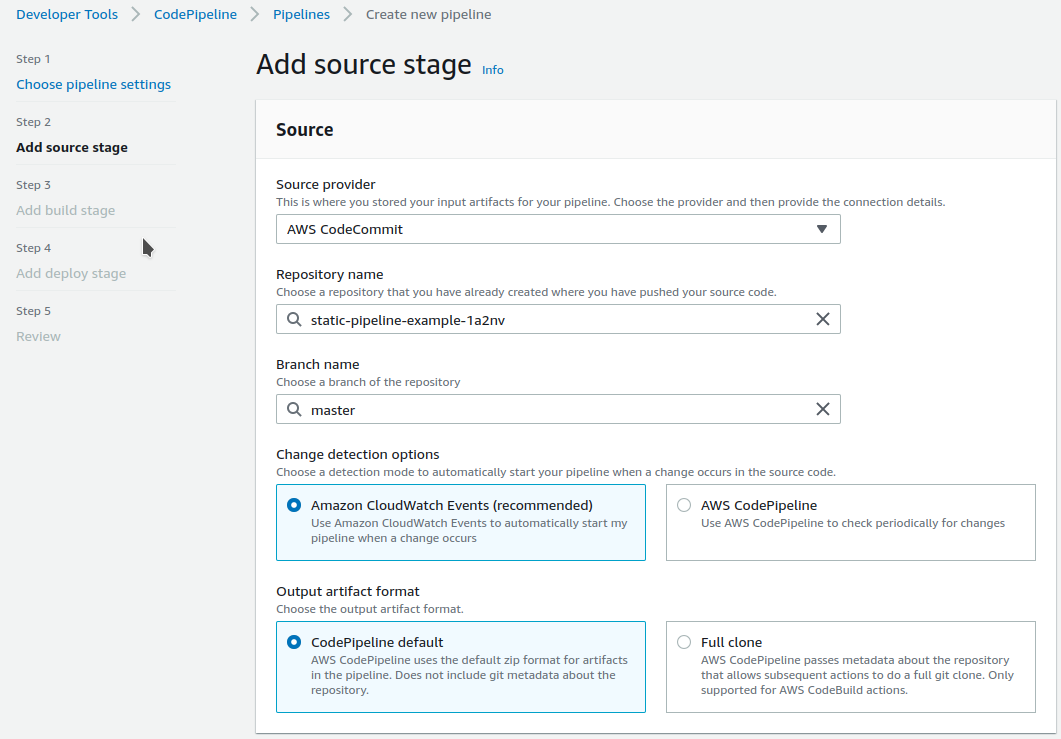
On the Build section, select Build provider as AWS CodeBuild, and click Create Project under Project name. This will open a new window. Codebuild will need to be created through this interface, otherwise it doesn’t support the artifacts, and source configuration correctly.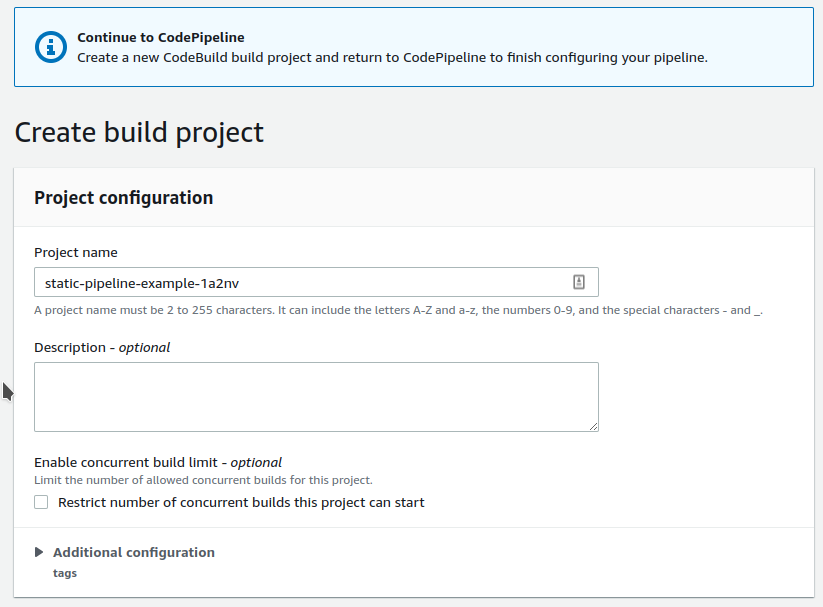
Under Environment, select the latest Ubuntu Runtime for codebuild, and under Service role select the IAM role you created earlier.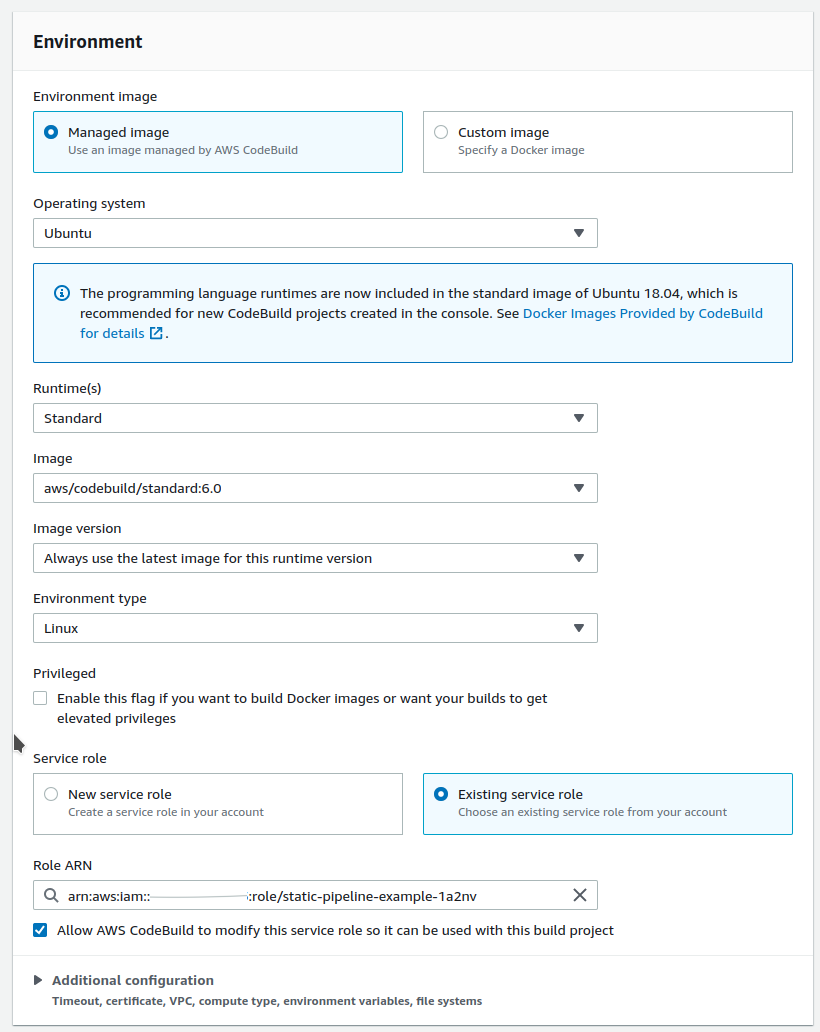
Once that’s all done, click Continue to CodePipeline and it will close out the window and your project will now be created.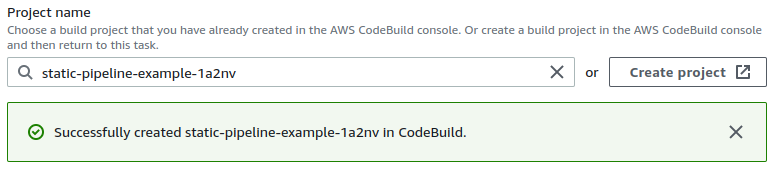
Click Next, and then Skip deploy stage (we’re doing it during the build stage!). Finally click on create the pipeline and it will start running based on the work you’ve done so far.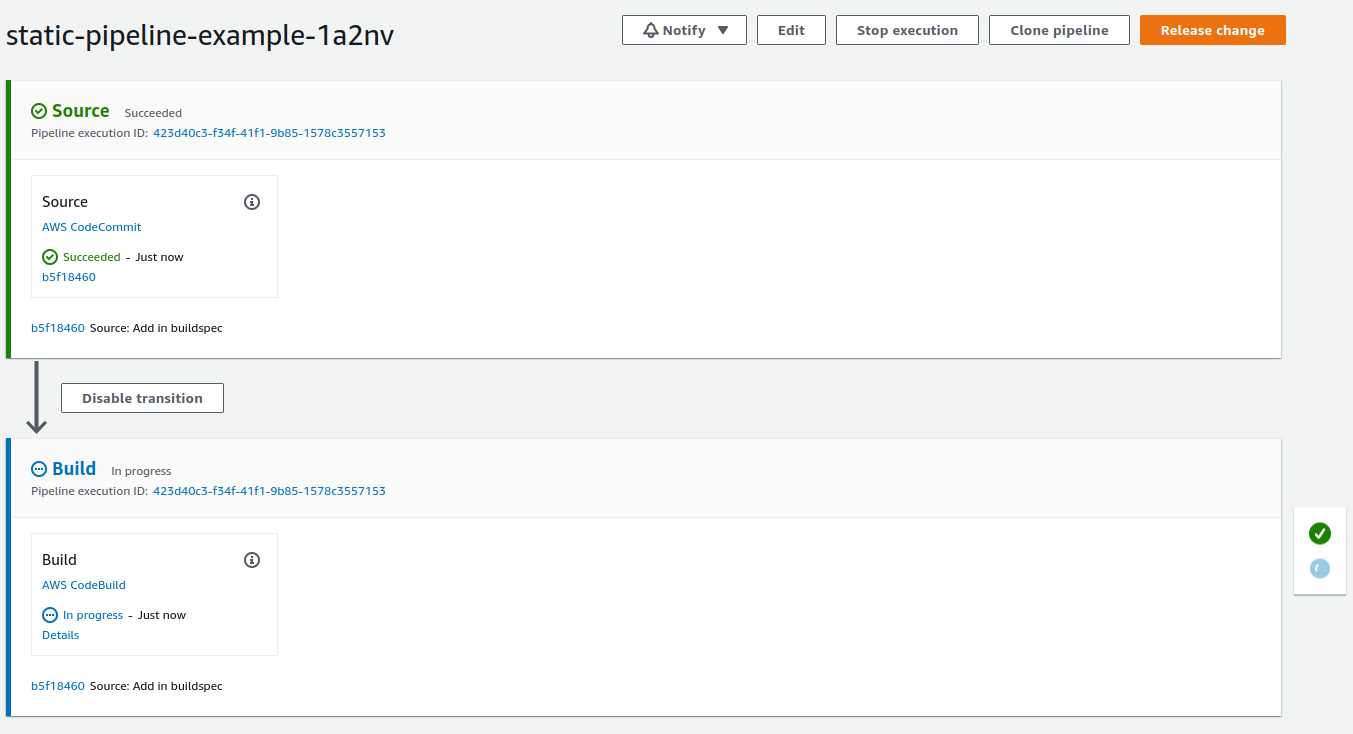
The website so far should now be available in the browser! Any further changes to the CodeCommit repository will result in the website being updated on S3 within minutes!